
In my previous posts, {How to Start Seeds Indoors {part 1} & {Spring is Coming!}, I covered seeds, pots, & dirt. Today I want to take it a step further and cover everything your seeds need in order to grow strong and to thrive!

When it came time to get started, the first thing I did was check and see when the last freeze was going to hit my area {around mid March for Fort Worth, Texas}. Which is obviously an averaged out estimation from previous years… Then, following a planting guide that I had picked up from the local feed store where I purchased some of my seeds, I got to work!
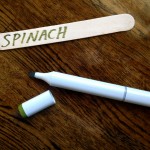
My tomatoes, peppers, tomatillo and eggplant were the first things to get planted, as they needed to be started 8 weeks before the last frost. Followed by kale, spinach and then broccoli & cauliflower. Kale and spinach can actually go directly in the ground as early as February 10th in my climate. They love the cold! I am choosing to plant half of my seeds in pots and half directly into my beds simply because I want to compare the two options. And hopefully share some of my transplants with friends. 🙂 It is actually February 11th today, and as soon as the temperatures get back above freezing I will complete that task.
_______________________________________________________________________________________
Let’s quickly cover the 4 basic of indoor growing:
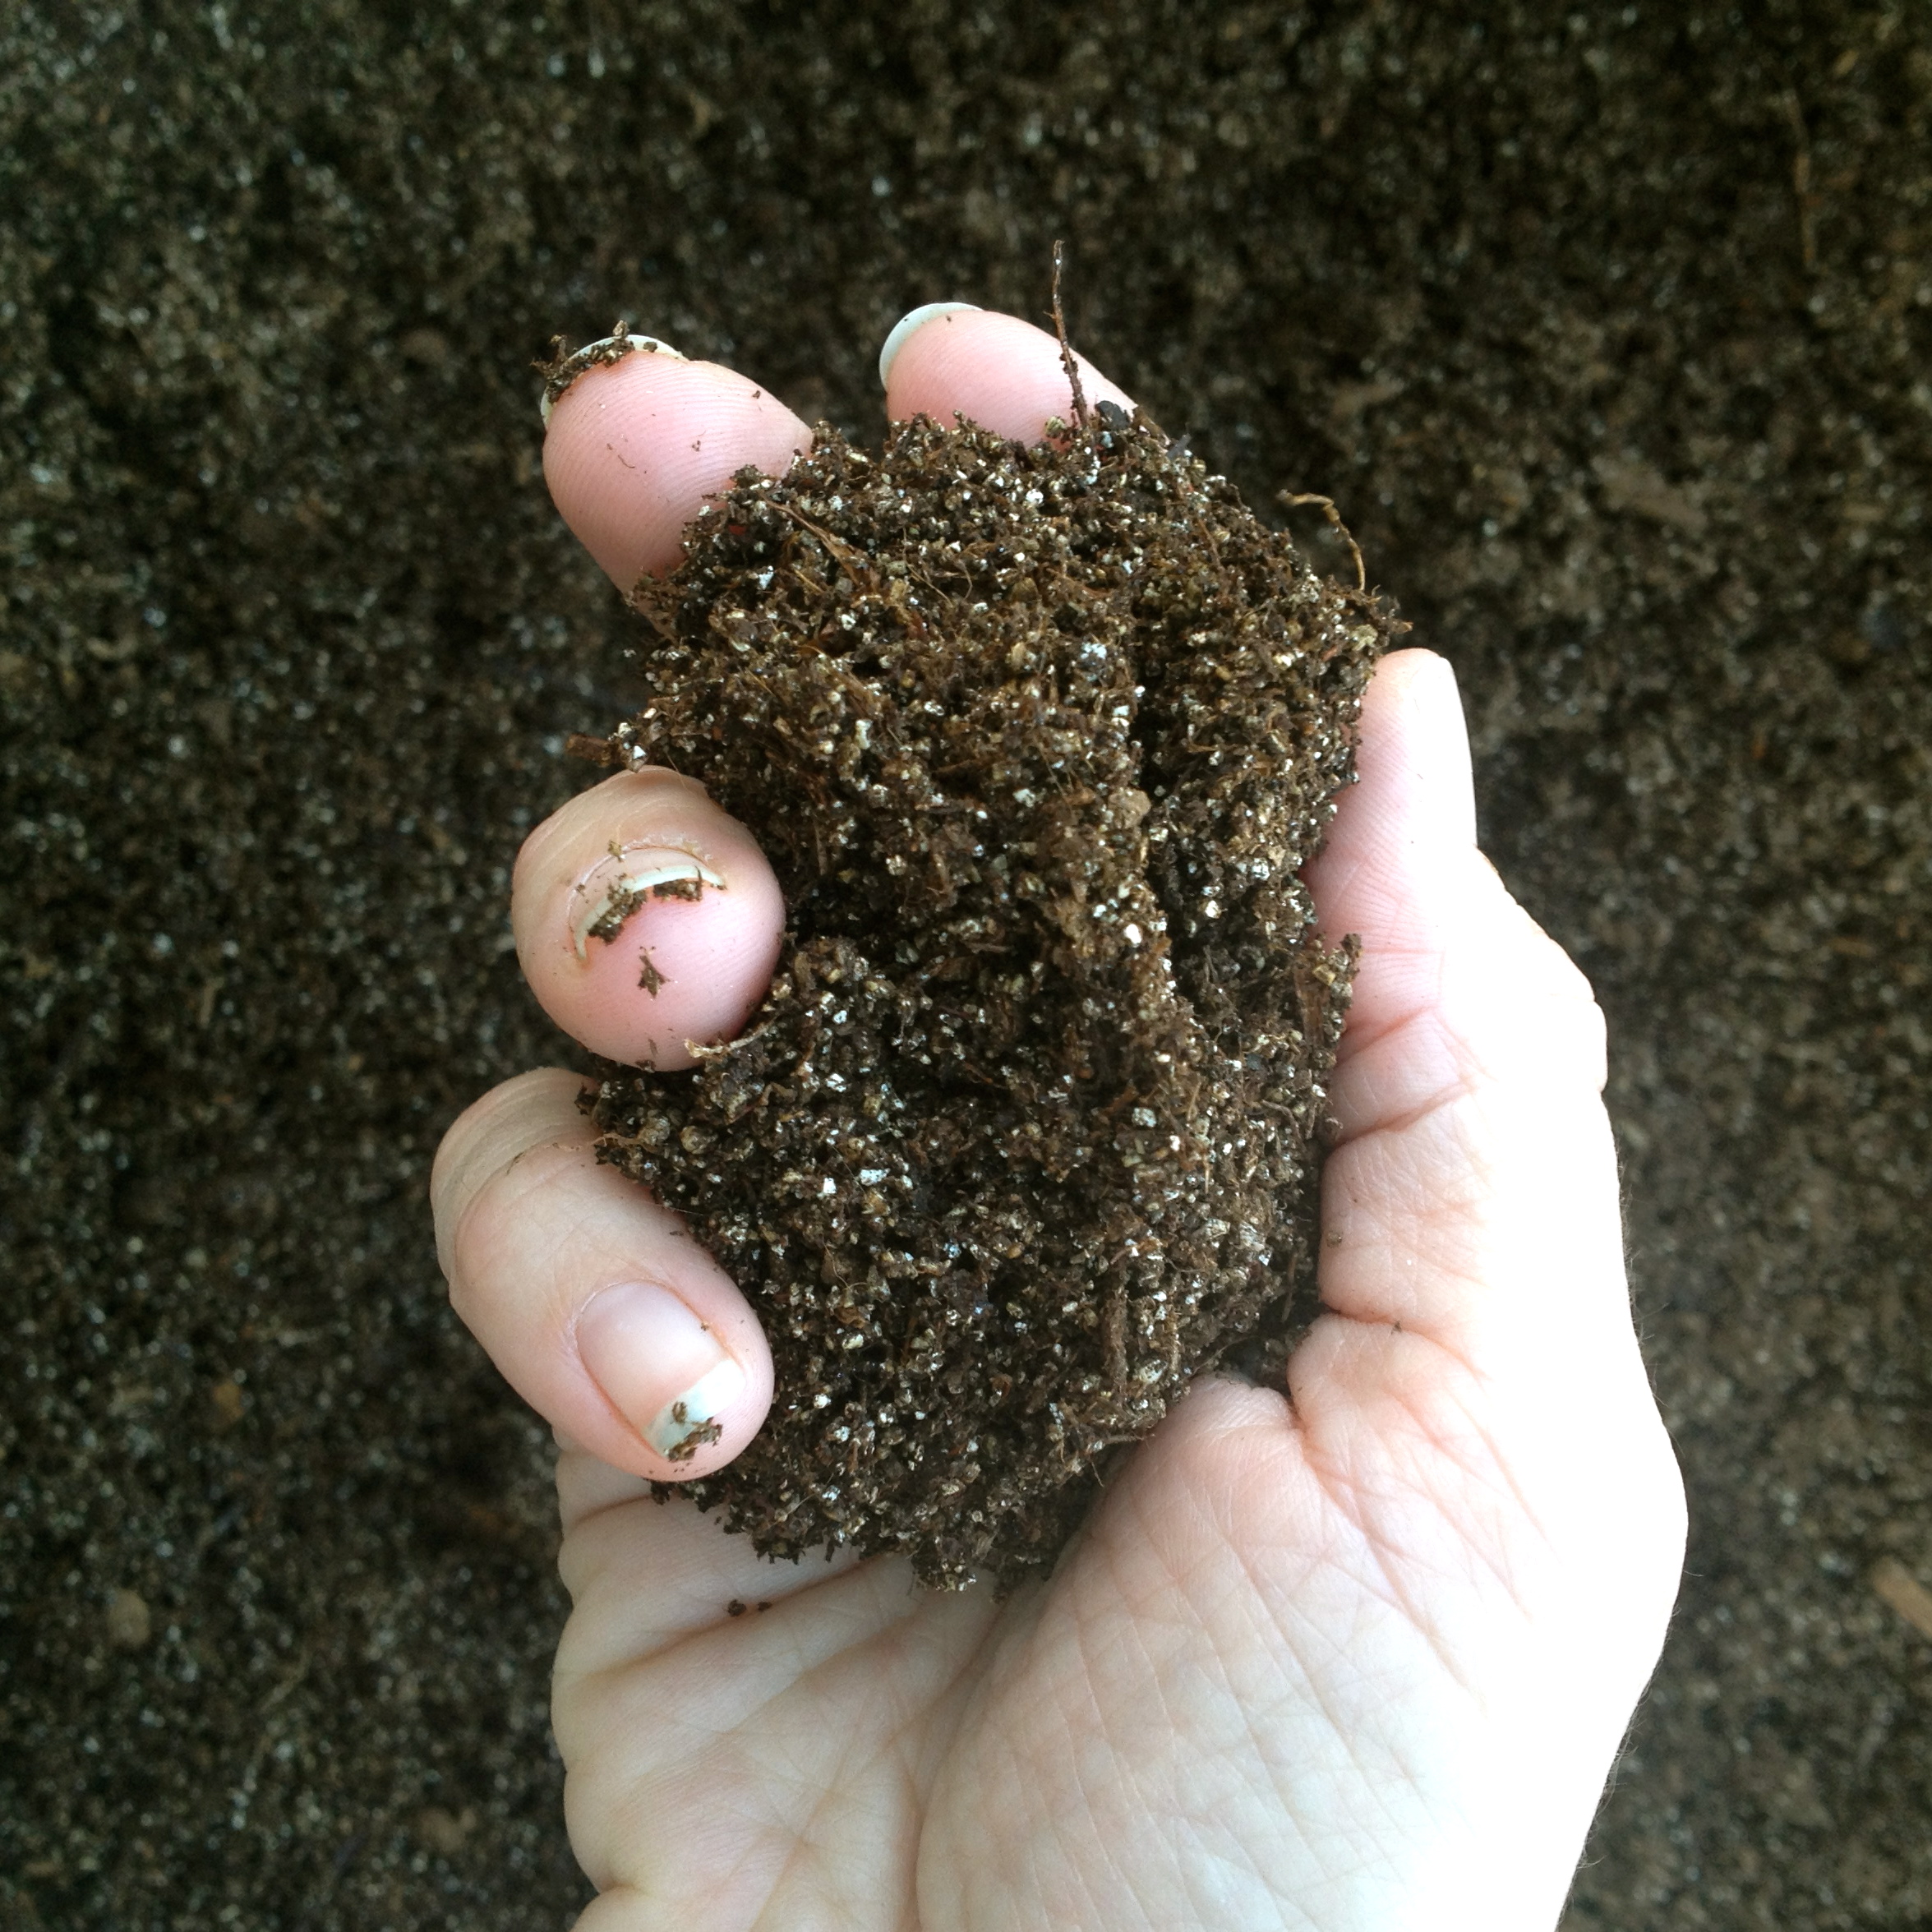
1. Soil – We covered this in part one of planting seeds indoors, but here is a quick recap.
- Loose, well-drained mix, composed of very fine particles.
- A sterile environment free of any contaminates. {To prevent fungus and diseases from invading the soil}
2. Water – Although, this is a given, here are a couple things to keep in mind.
- Never let your pots/seeds dry out. They need to remain moist.
- Do not water log! Over watering can open the door to mold and fungus.
3. Temperature – Seeds need warmth to germinate.
- It is ideal to keep the temperature between 70* -75*
- If needed heated mats can be placed underneath the tray containing your pots to aid in this process.
4. Light – Seeds must have ample light to grow!
- It is ideal for seeds to get up to 14 hrs. of light a day. It is a good idea to have drop lights or hanging lights in order to assure that your seeds are getting enough to thrive.
- If using drop lights or hanging lights make sure they are only a matter of inches above your seedlings. This insures that your plants wont grow spindly as they reach towards the light.
- When placed by a window sill plants need to be rotated frequently. Otherwise they will start growing crooked towards the light.
* I want to state that additional lighting such as a hanging light is optional. If you want to go completely natural with your light just make sure to keep your plants in the most well lit area of your house. Your best bet is to place them by a south facing window with nothing outside of it to obstruct the sun.
Now let’s get to it!
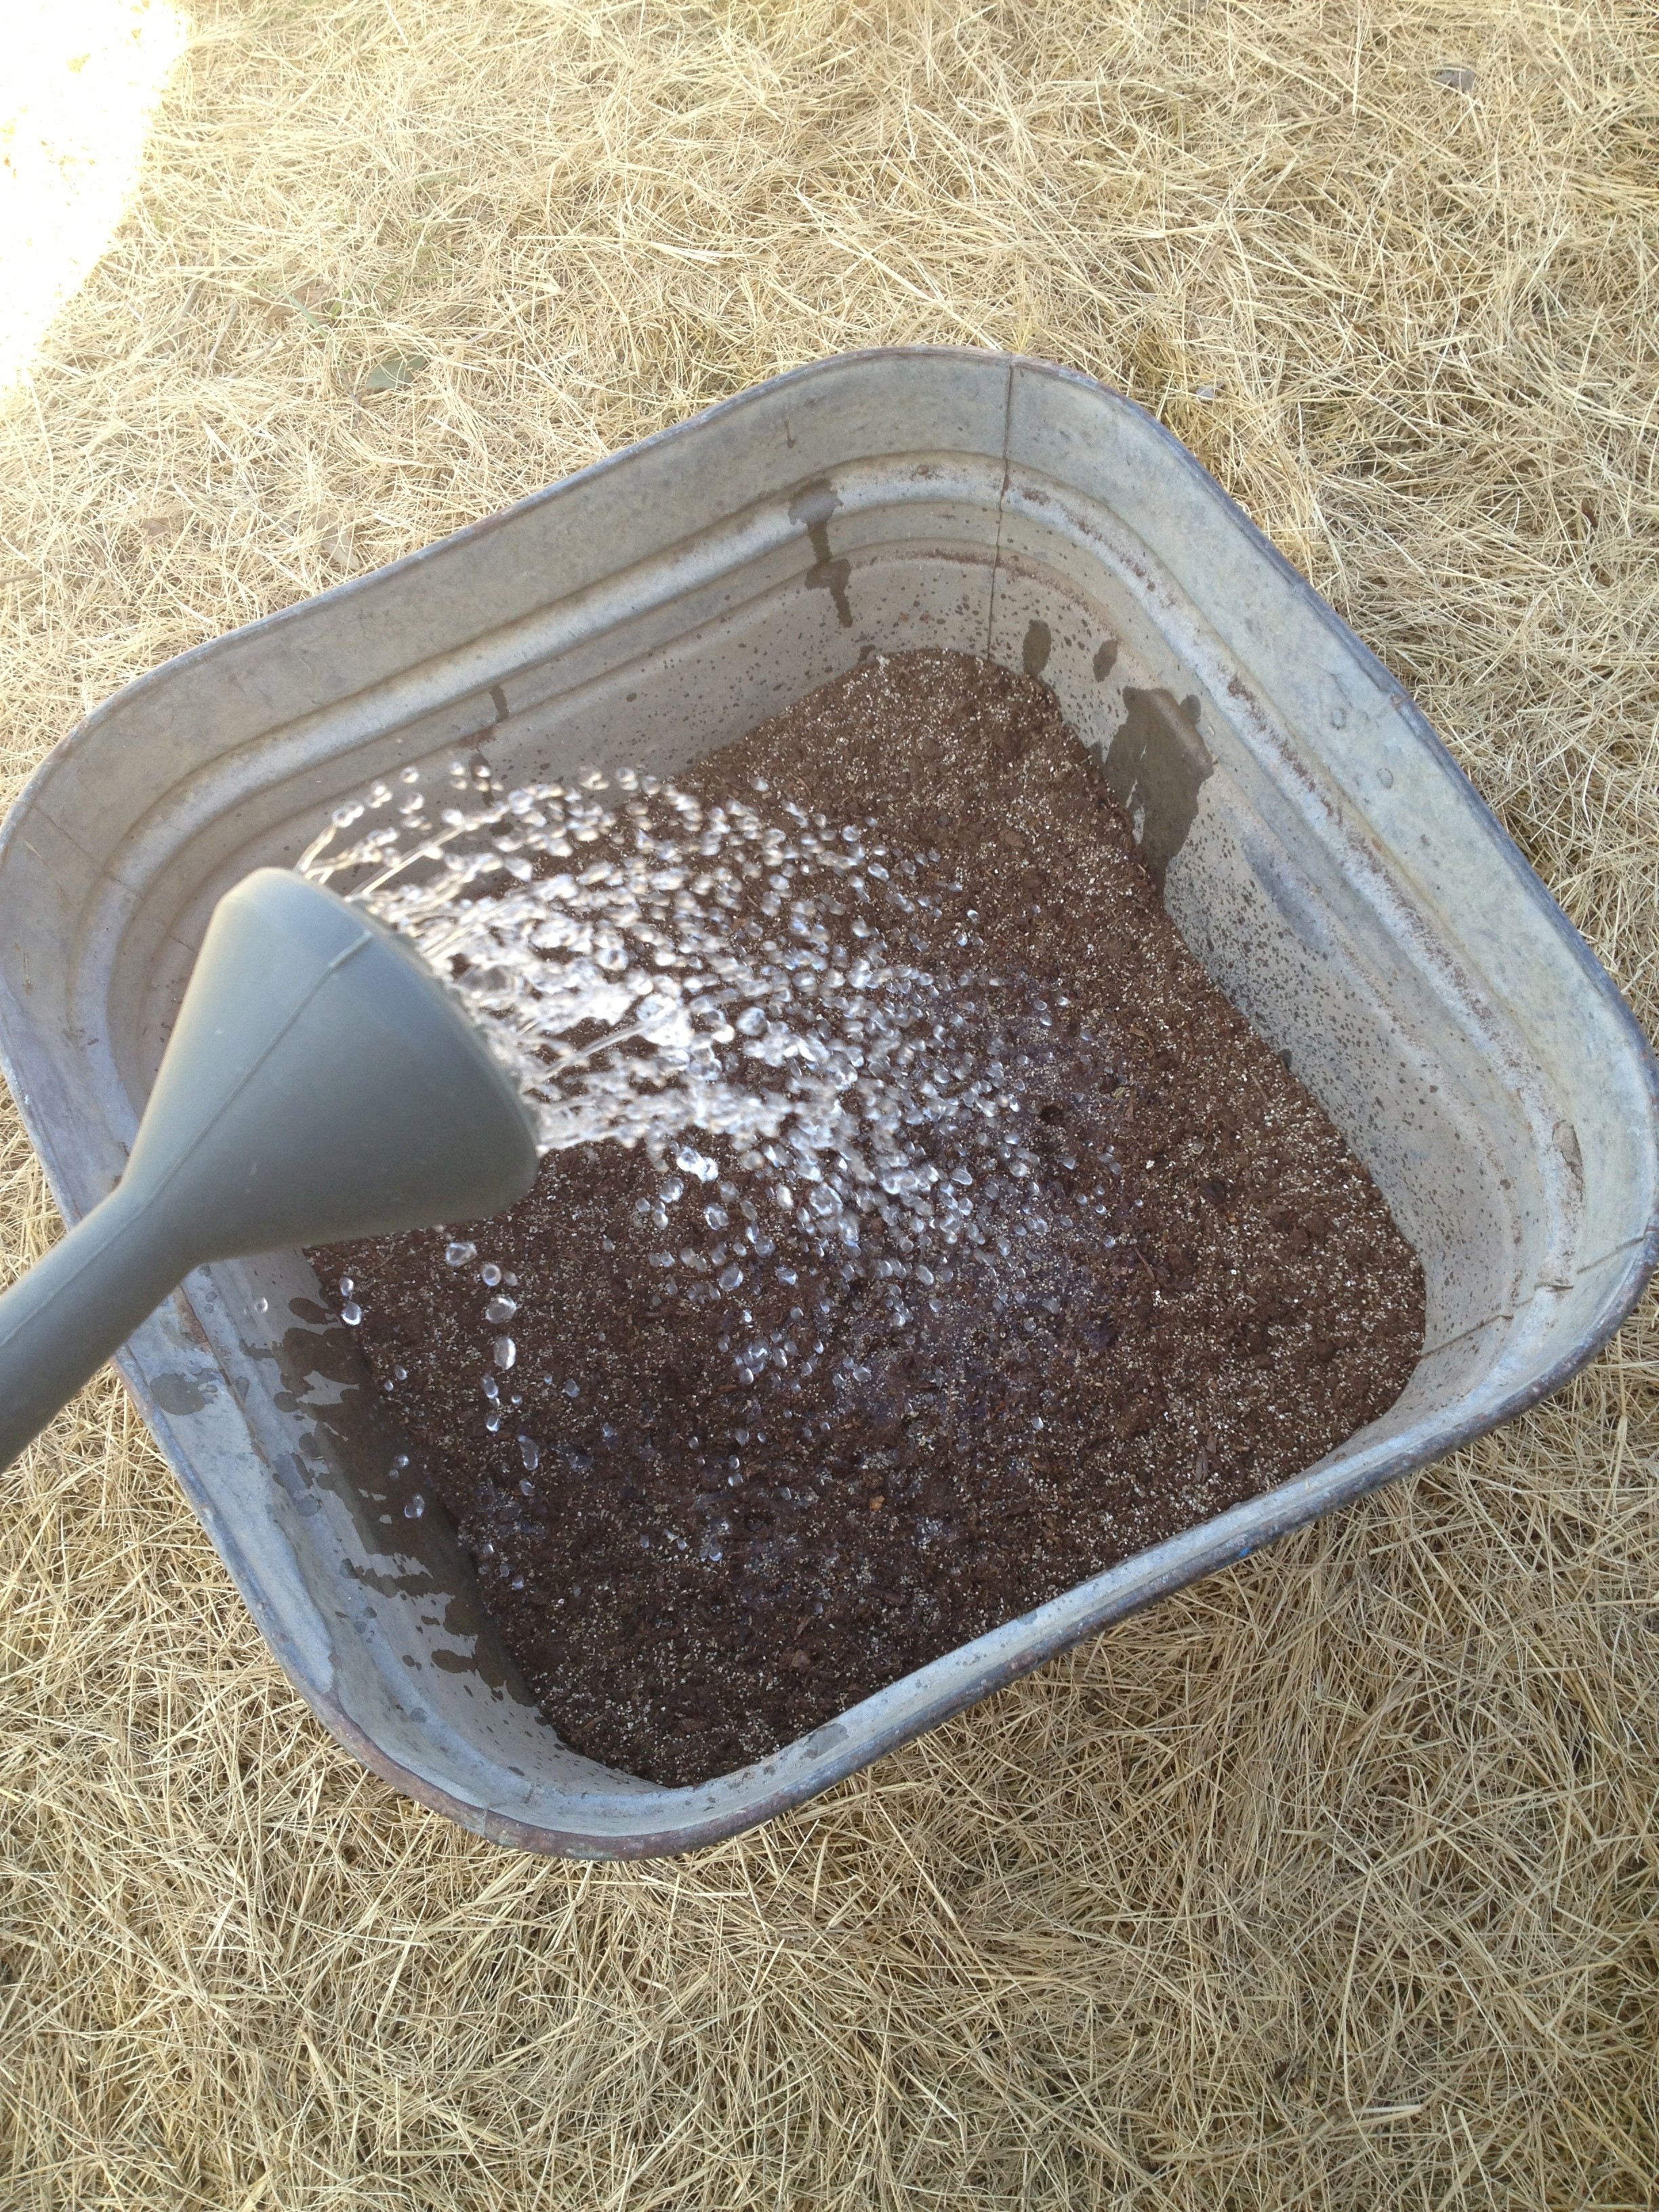
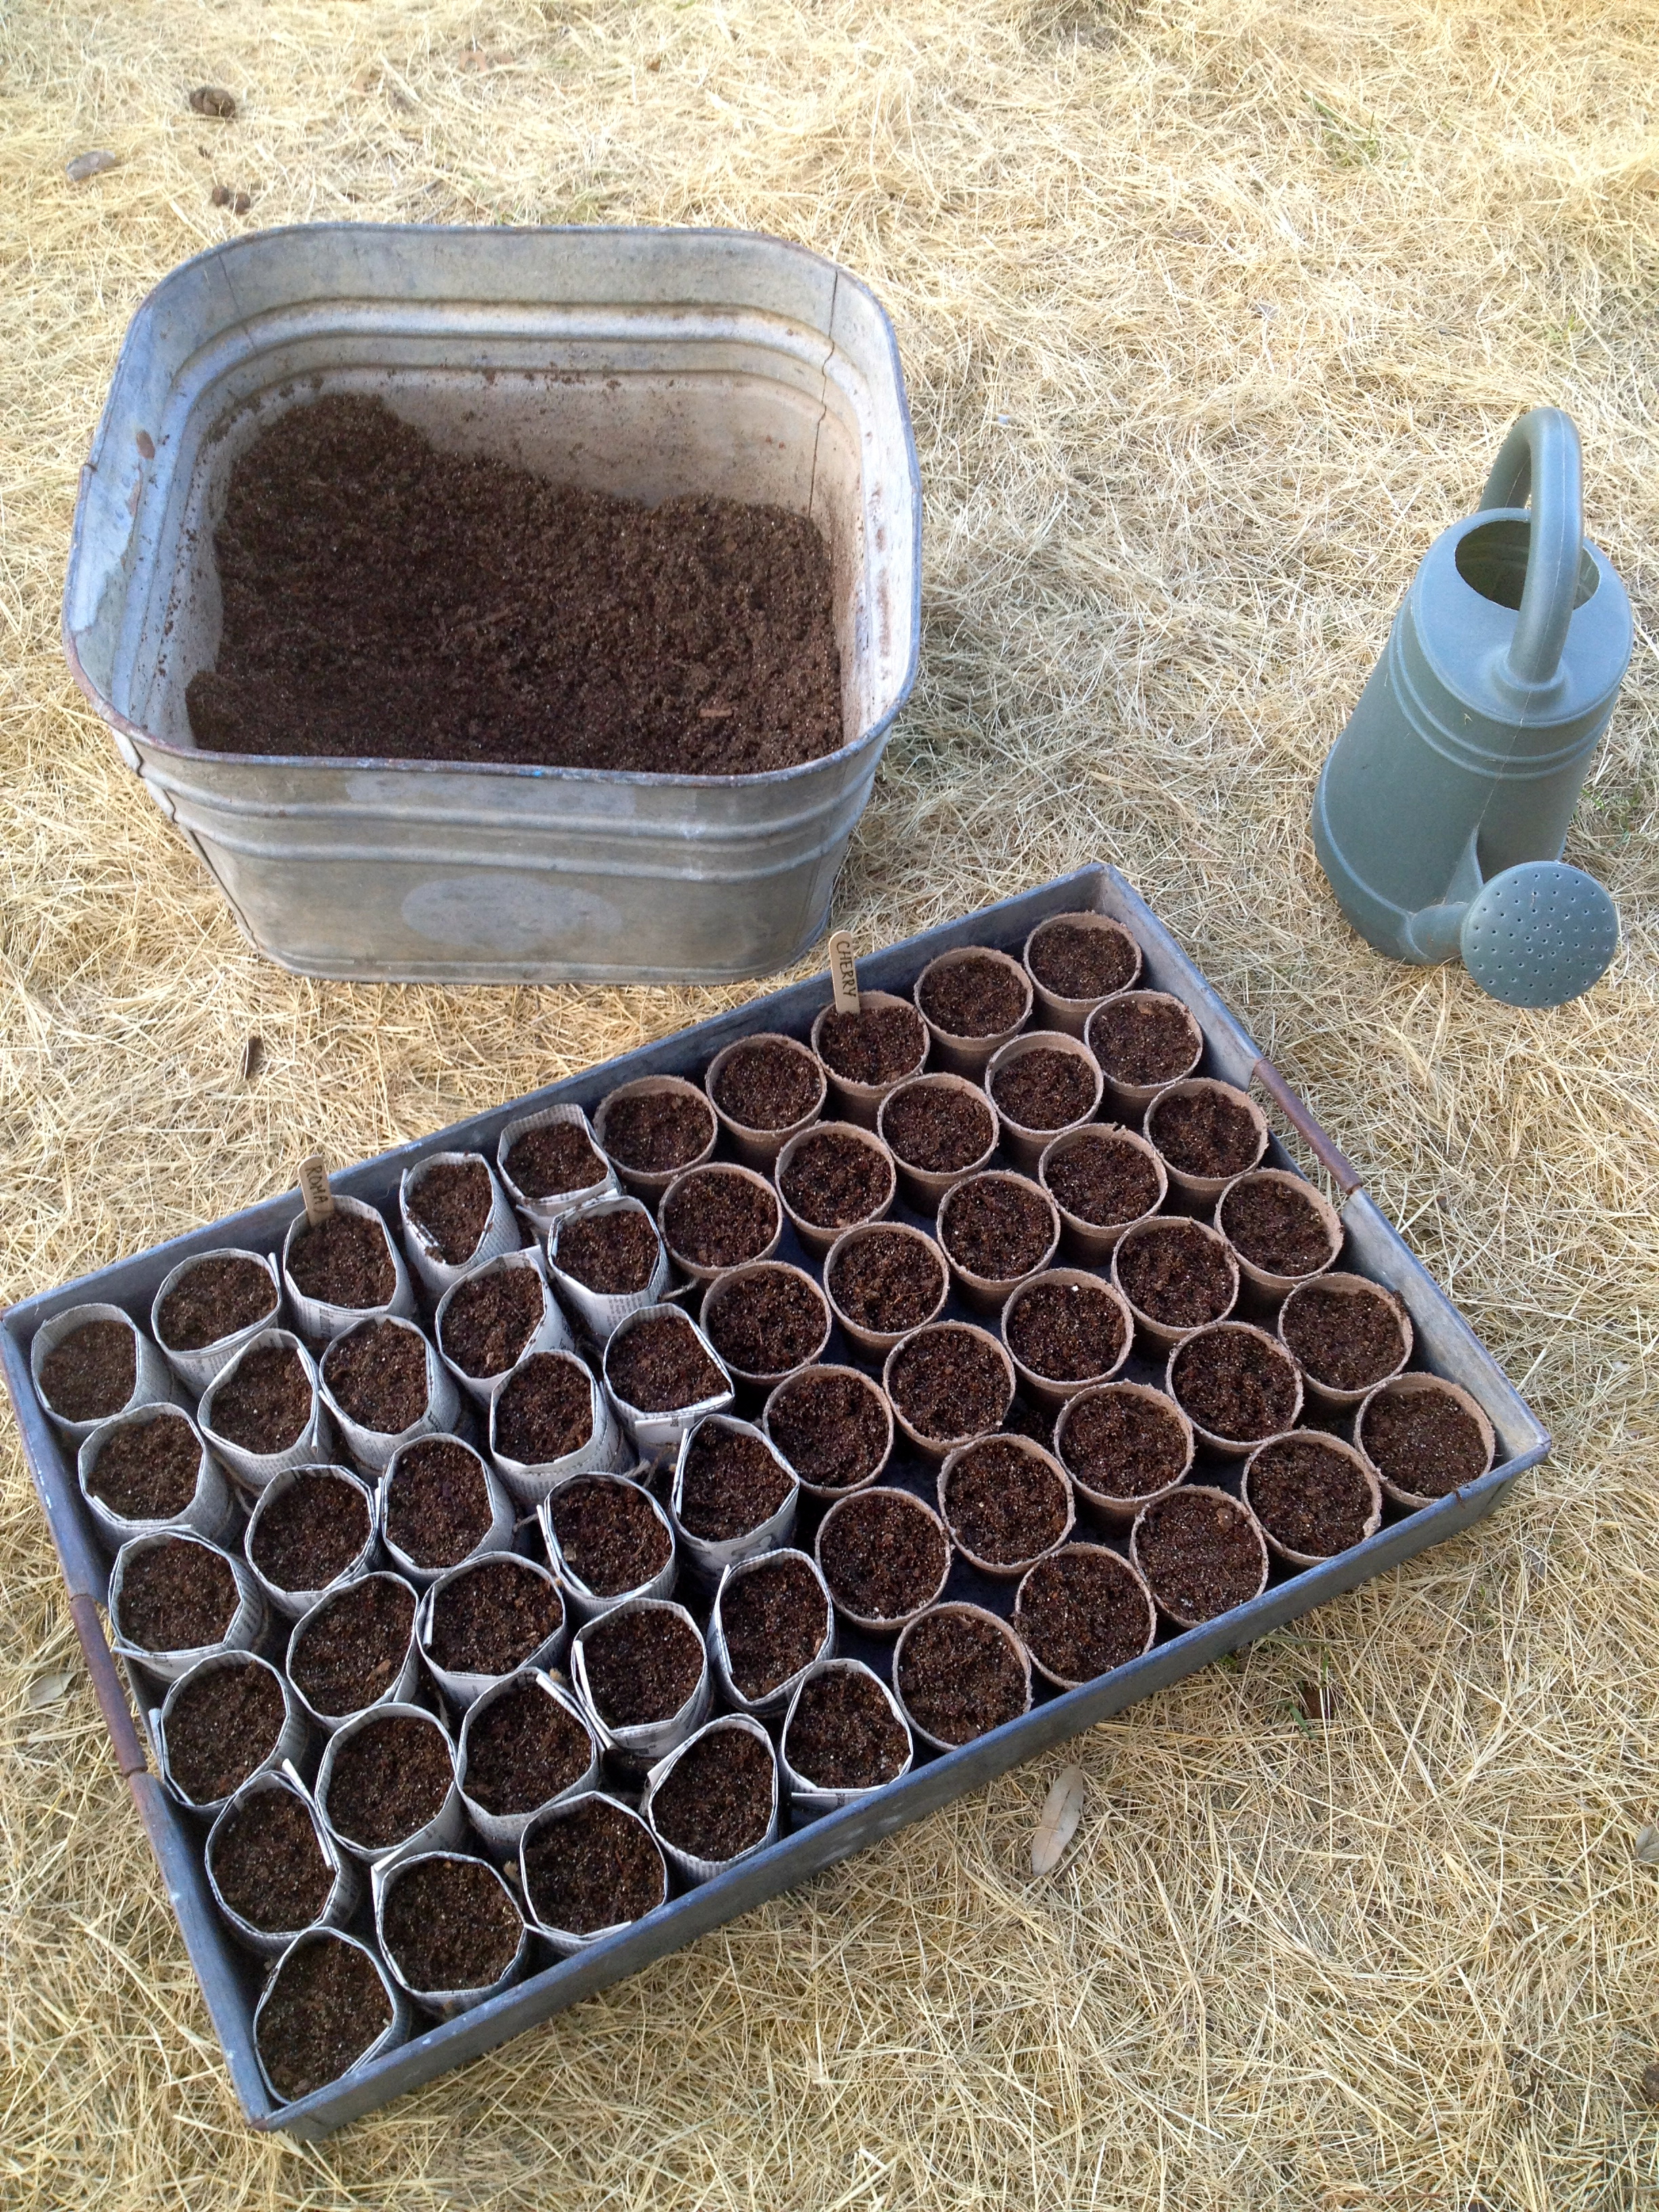
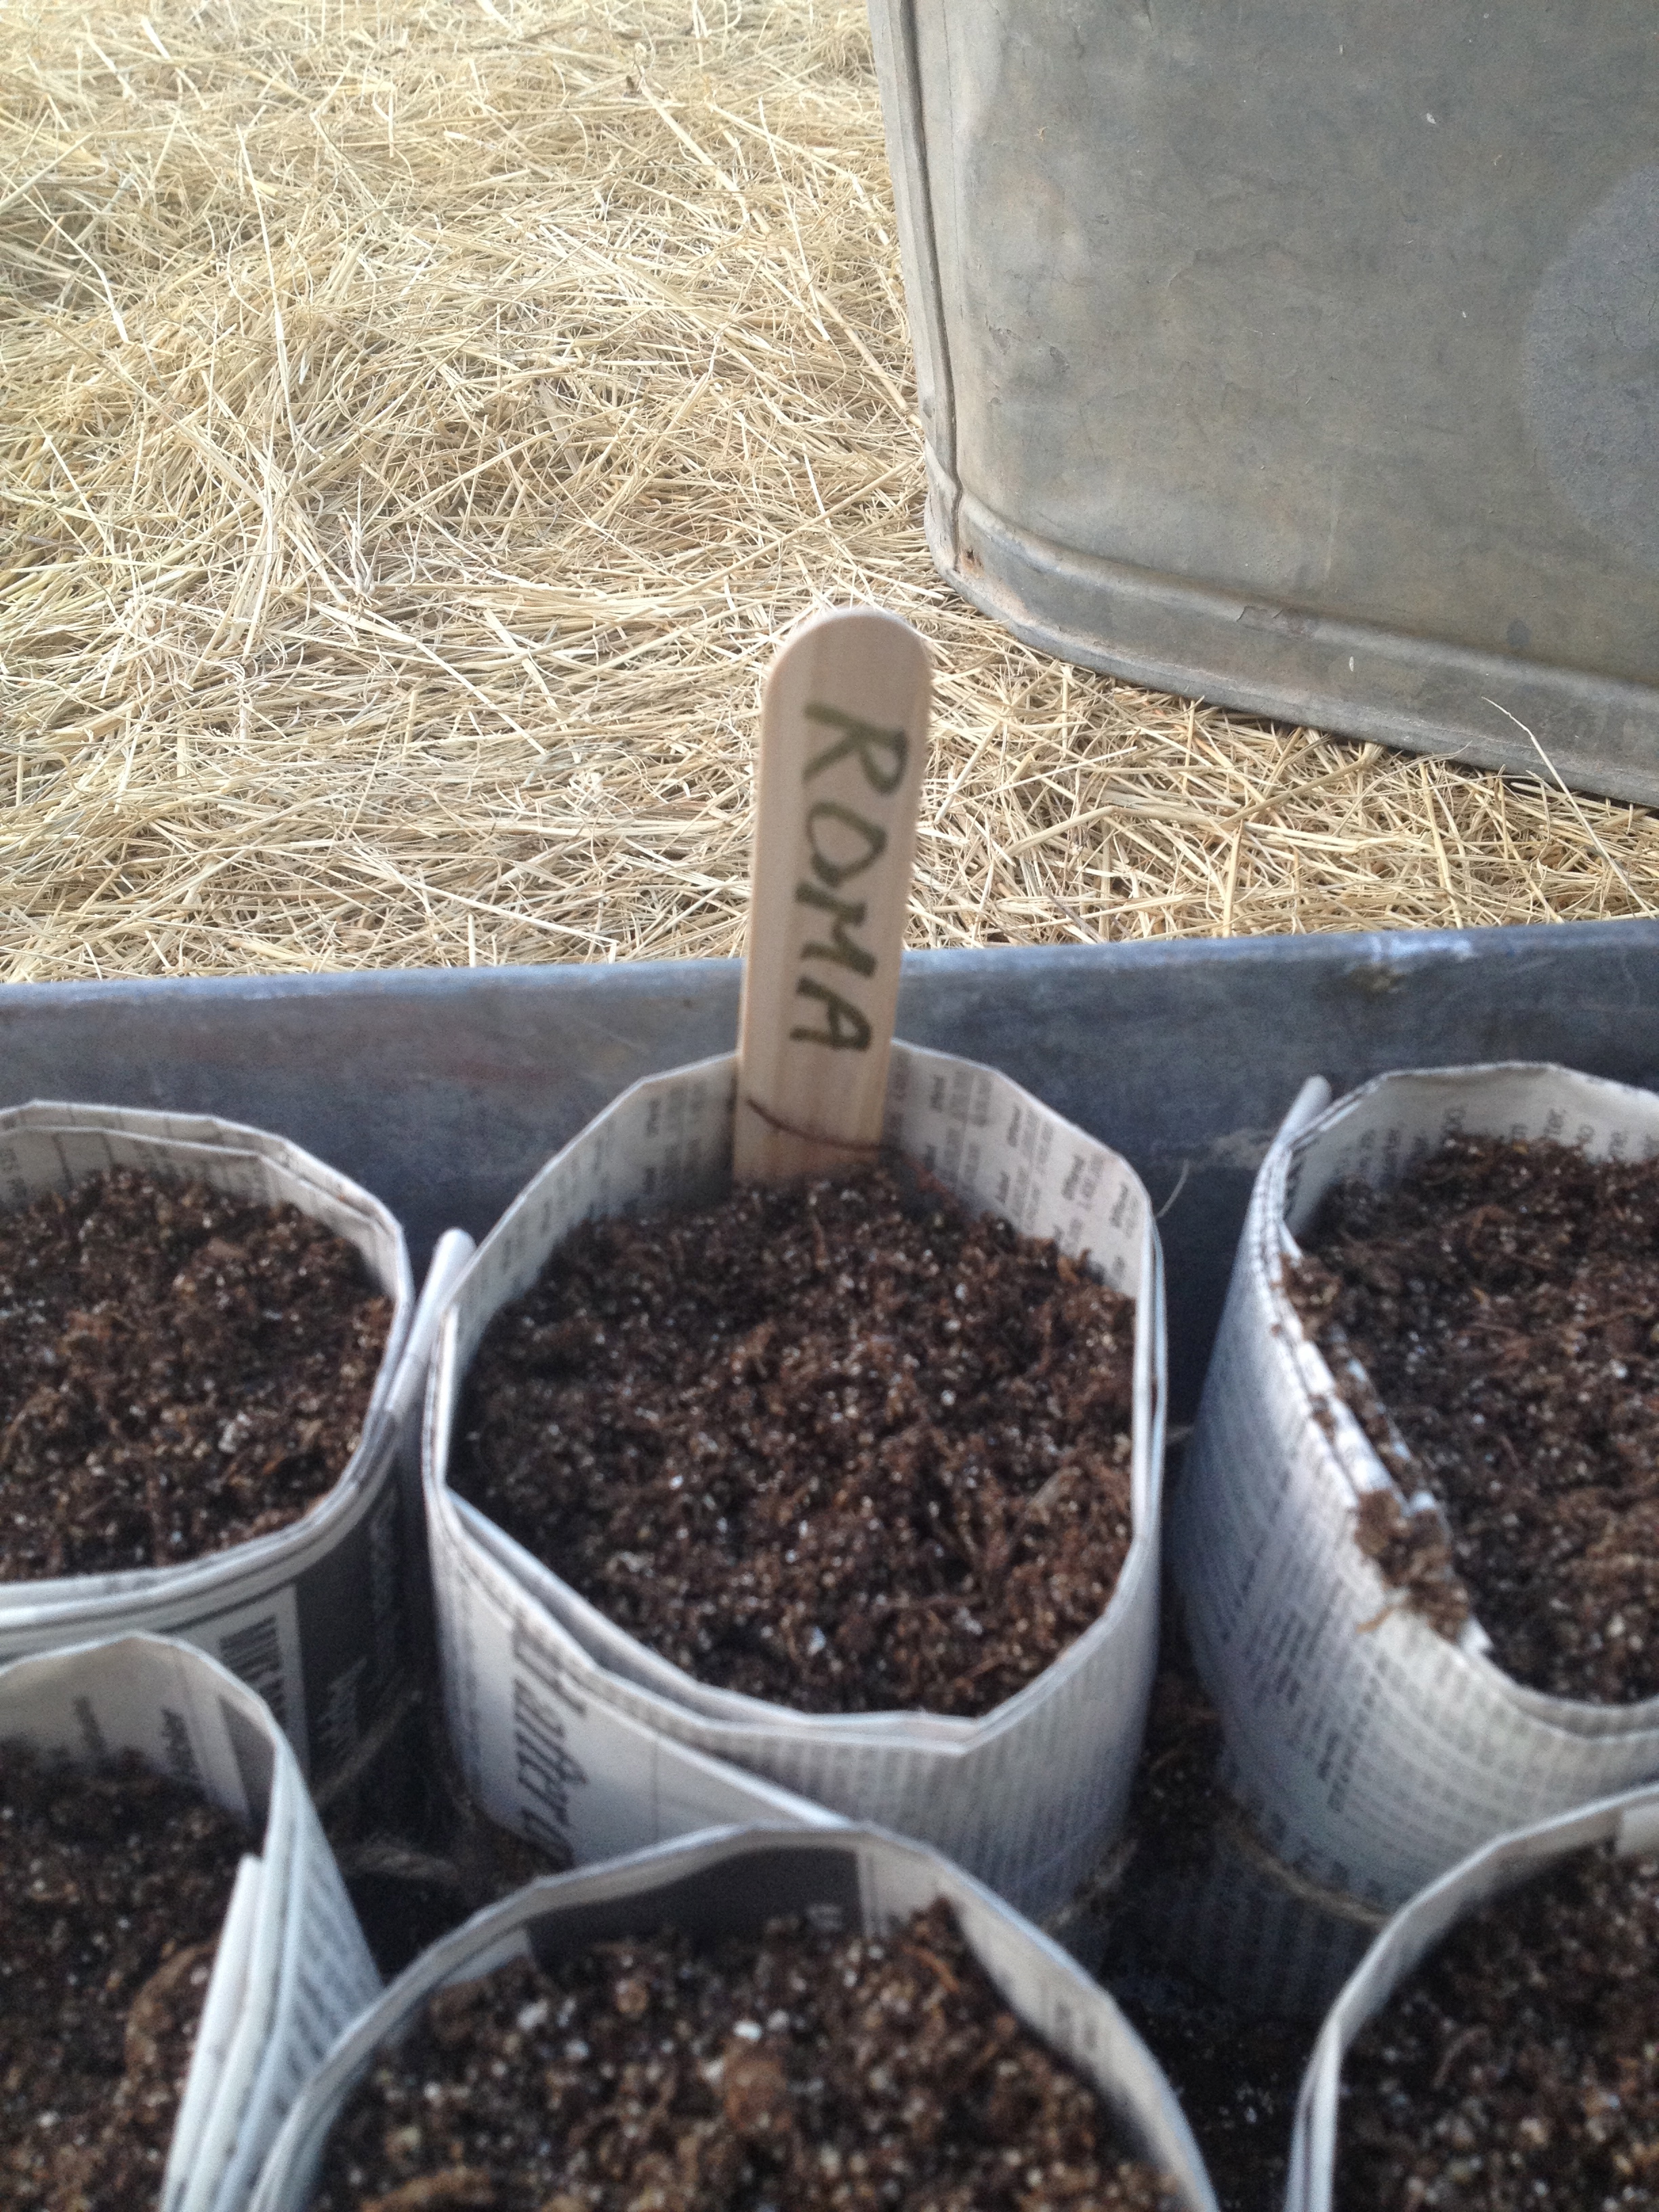
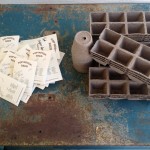
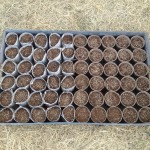
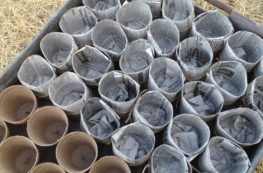
After mixing my growing medium {dirt}I lightly dampened it with water. I did this in order to keep the dust down and also to keep the seeds from floating to the top of the soil when I water for the first time. This is something I learned the hard way last year. 😉 Once my seed starting mix was moist I filled my planting pots and lightly pressed the dirt down. You don’t want them to be to compact, but not to loose either. The next step is to add the seeds. This truly is the hardest part for me! I want so badly to sprinkle multiple seeds in each pot. They are so small, that it seems only right to put several! But you only need 2-3 seeds per pot. The seeds only need to be planted about 3 times their size in depth. An easy way to do this is to place them on top of the dirt and then lightly press them in to the soil. Then sprinkle a small amount of soil on top and lightly pat down.
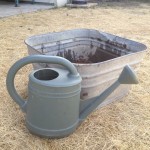
When you are through planting your seeds, they need to be placed in trays of some kind. This allows you to water them freely indoors. Now they are ready to be watered and to start the growing process!
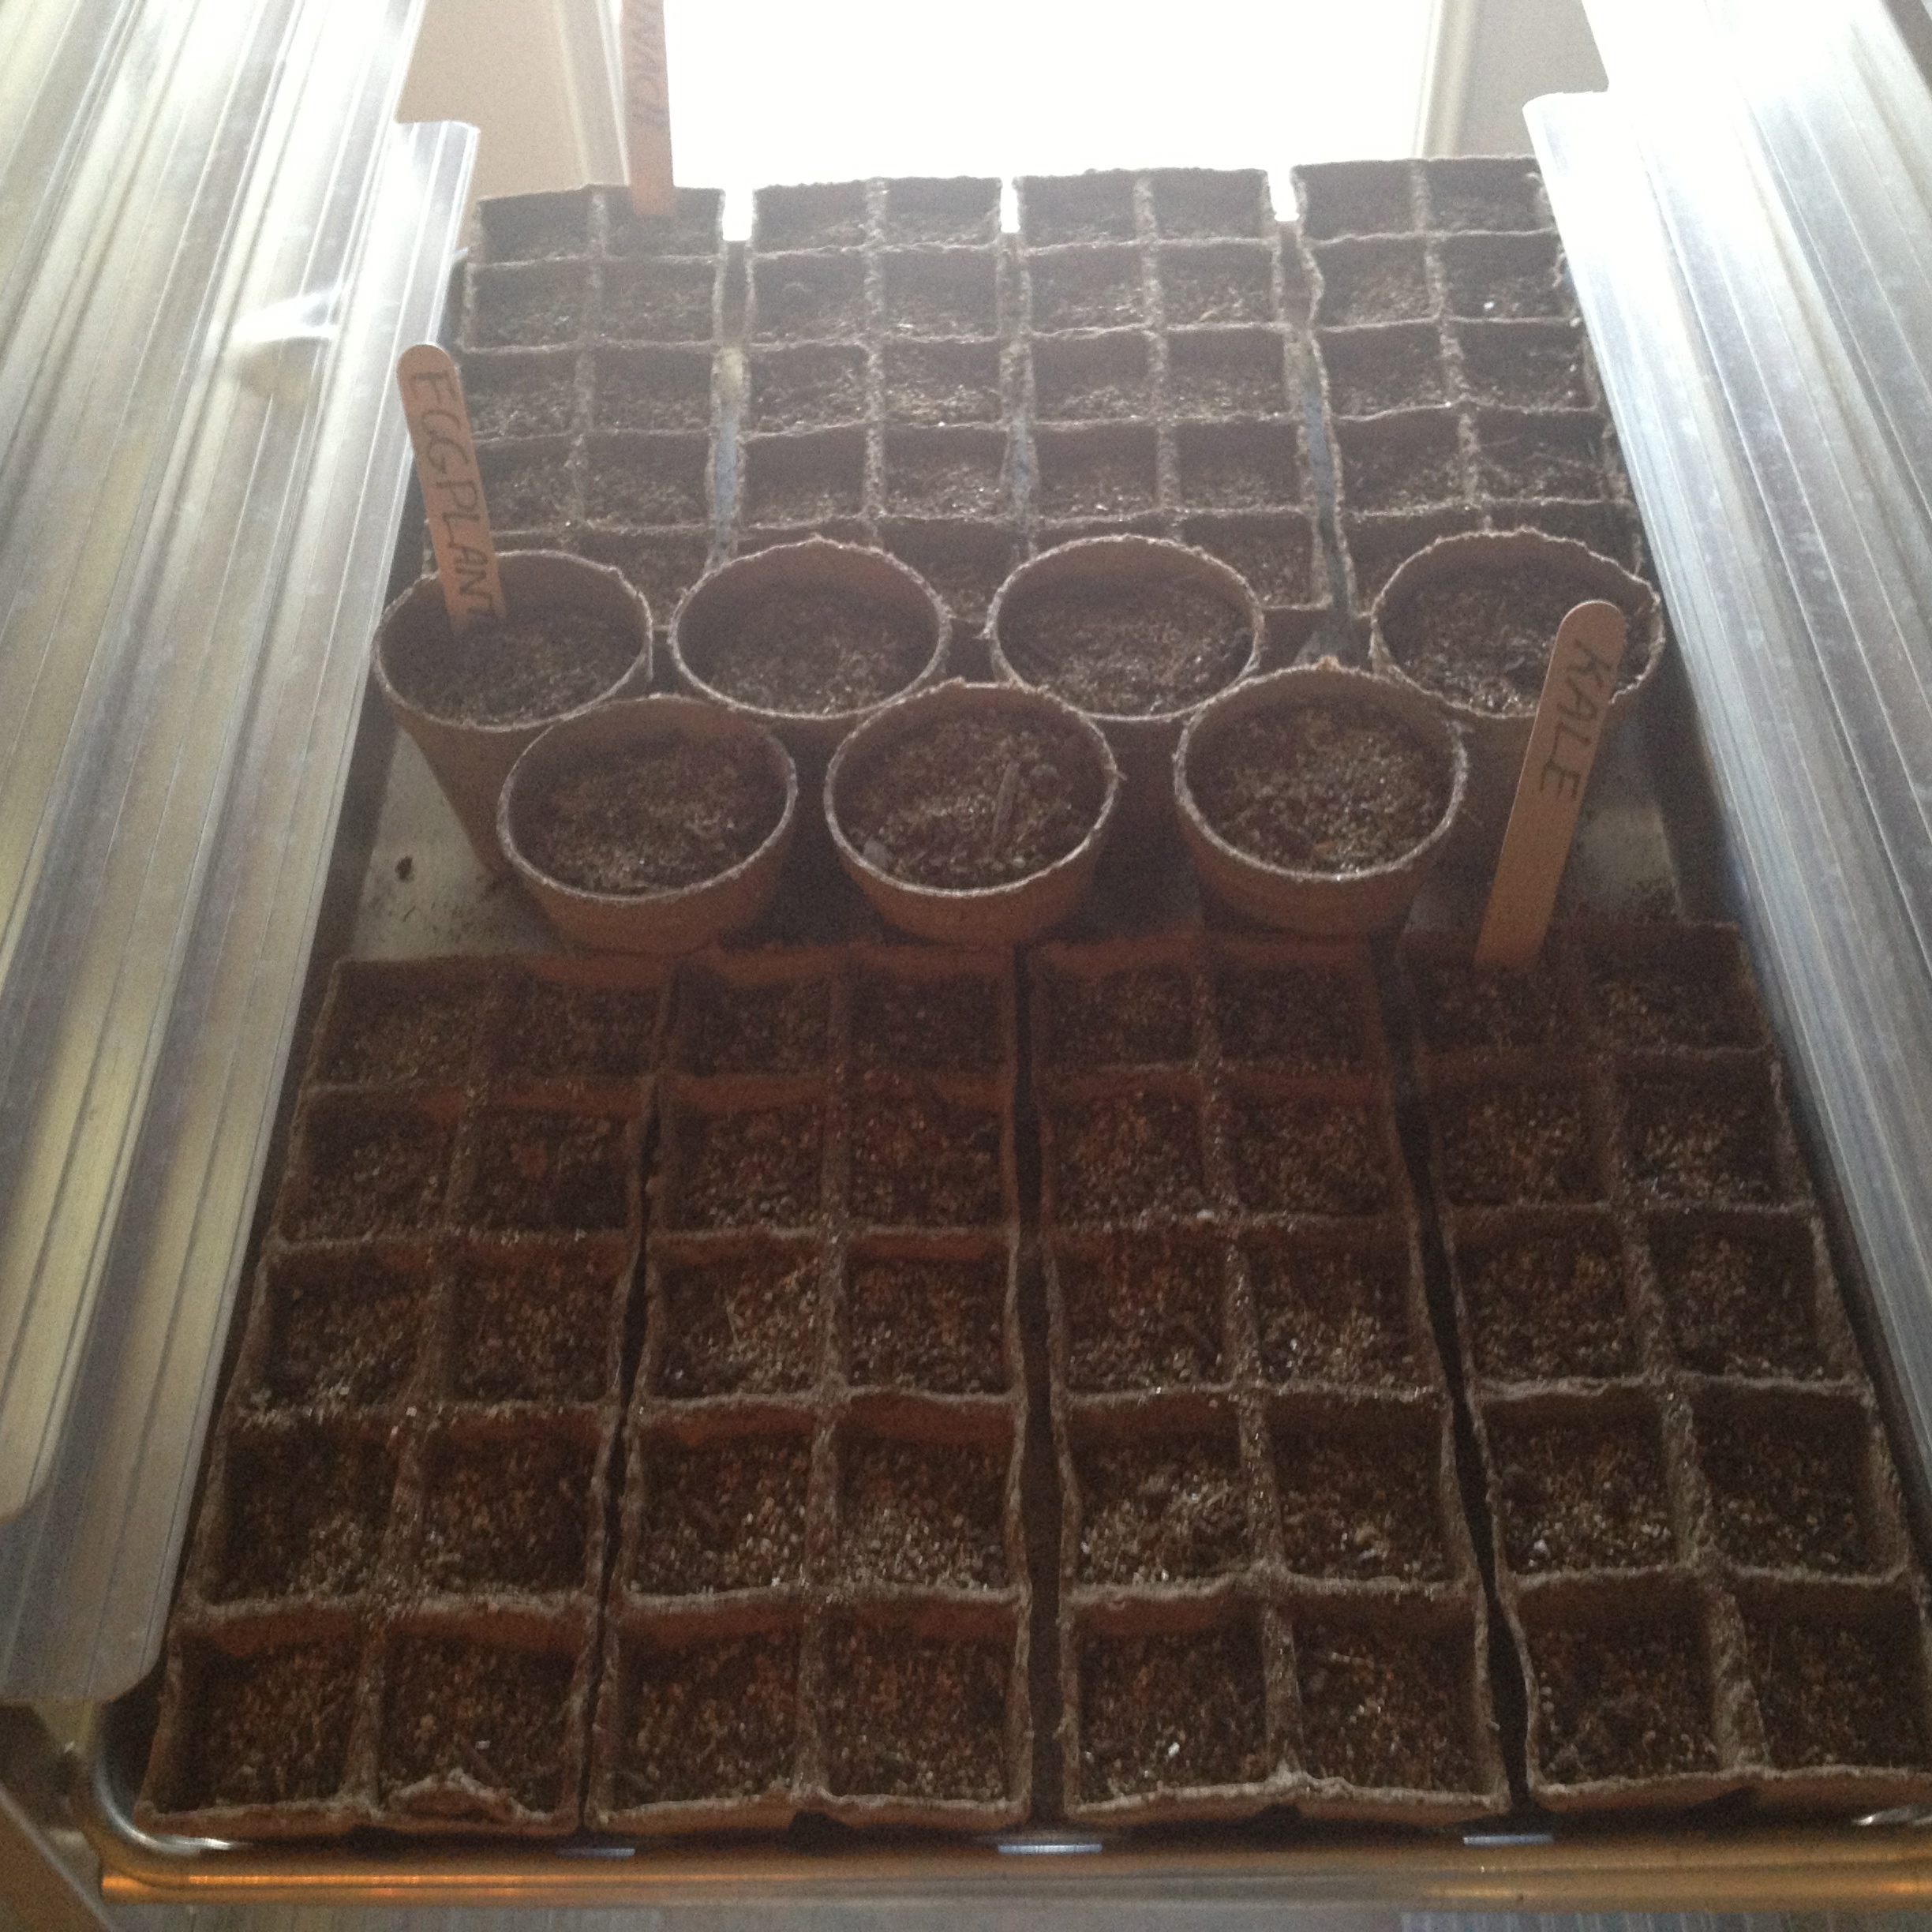
I used a bakers rack I purchased for very little from a restaurant going out of business! Something you could easily find at a restaurant supply store…
I took a little seed one day
About a month ago.
I put it in a pot of dirt,
In hopes that it would grow.